Difficulty
Very easy
Steps
7
Time Required
00:02:00
- Record audio using your Mac 7 steps

In Progress
This guide is currently being written. Reload periodically to see the latest changes.
Quiz
0
-
-
In Finder, Go to Applications > QuickTime Player and double-click on the application name
-
-
-
Make sure the words 'QuickTime Player' are showing on the top left corner of your screen
-
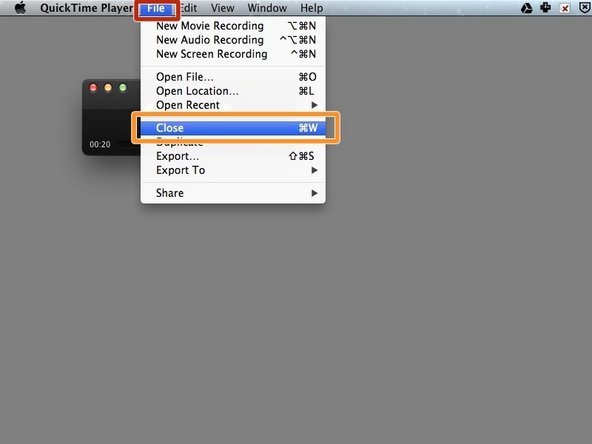
Click on 'File'
-
Click on 'New Audio Recording'
-
-
-
Click on the down-arrow and select 'High' quality.
-
You can select 'Maximum' quality, however it will result in a larger file.
-
Click on the 'Record' red button
-
-
-
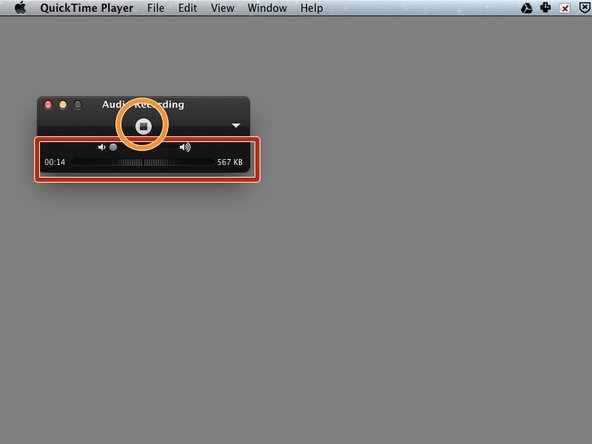
The volume of your recording is represented graphically at the bottom of the recording window. Other information include the duration of your recording, and the filesize.
-
Click on the 'Stop' button when you have finished recording
-
Tip: you can turn up the volume to the maximum if you want to record your computer's audio (that's the only way to do it without extra software). If you are recording your own voice, you should turn the volume all the way down.
-
-
-
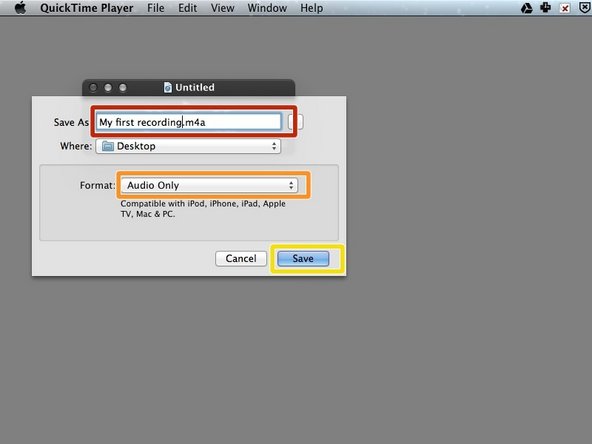
Choose a sensible name and a location where you won't be tempted to delete this file
-
In the 'format' dropdown, select 'Audio only'
-
Click 'Save'
-
-
-
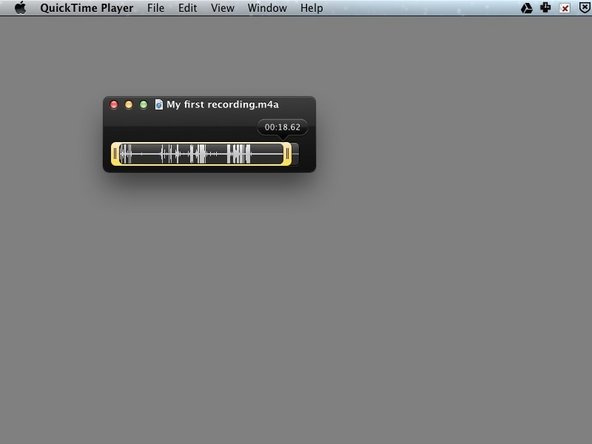
With your file open, press Cmd T on your keyboard (Edit > Trim also works)
-