
Difficulty
Moderate
Steps
16
Time Required
00:30:00
- Creating Interactive PowerPoints 16 steps

In Progress
This guide is currently being written. Reload periodically to see the latest changes.

User-Contributed Guide
This guide is not managed by the site's staff.
Quiz
0
Introduction
The guide will teach the basics of internal hyperlinks and the master slides
-
-
Start by creating a new PowerPoint Presentation.
-
It is recommended that you choose one of PowerPoint's preset themes.
-
Be sure to save the file under a recognisable name.
-
-
-
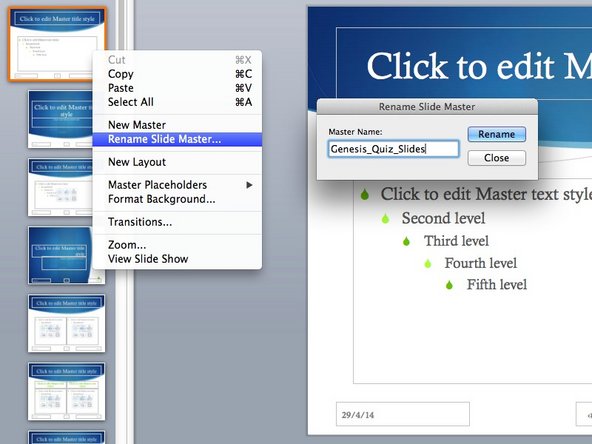
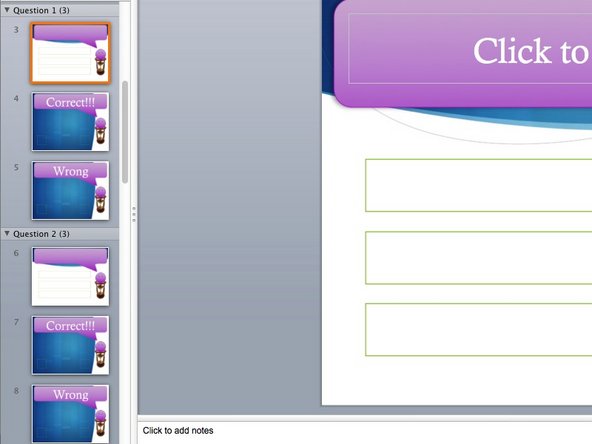
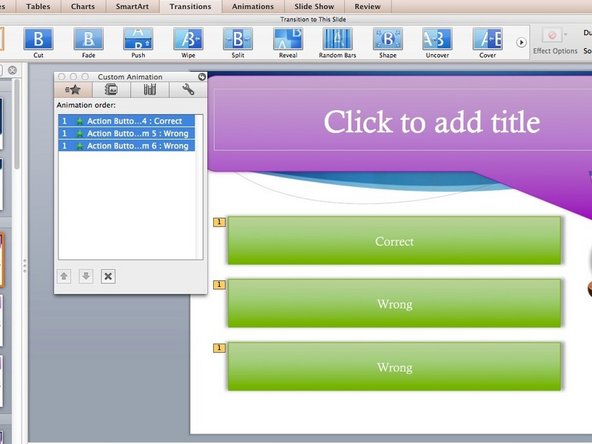
Create buttons for each of the slides
-
Just close the dialog that opens up when you create the button, we'll return to it later
-
Use a normal button for the multiple choice buttons and use arrow buttons for those in the response slides
-
Make sure the buttons stay consistent for all the slides
-
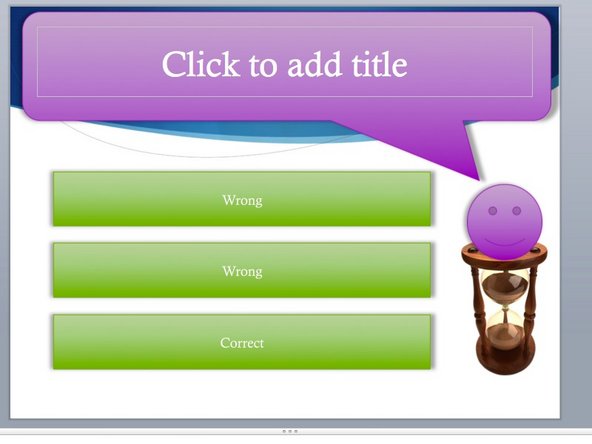
It is useful to fill the empty buttons with place holding text to inform you where it should link to
-
-
-
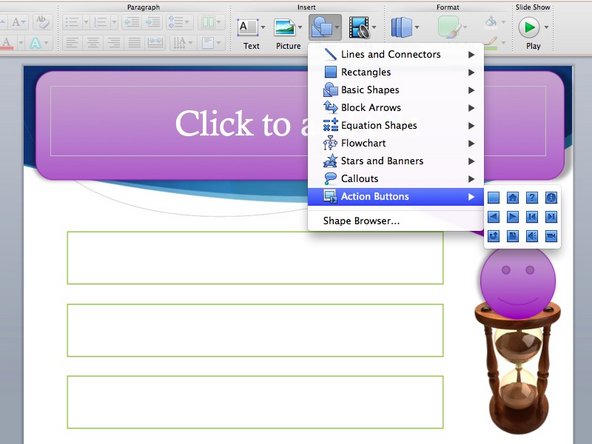
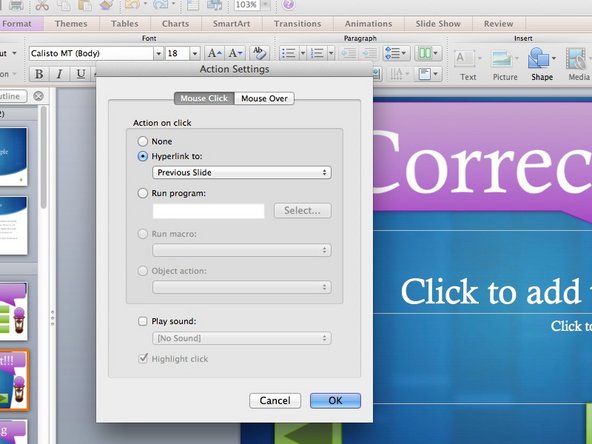
Hyperlink the buttons to their corresponding slides
-
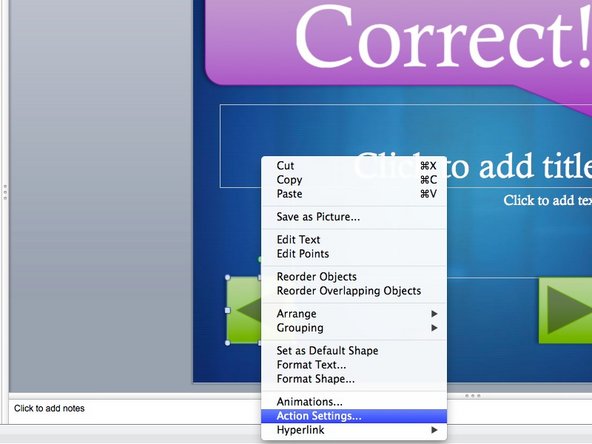
Reopen the Dialog box by right-clicking the box and going to Action Settings
-
Under the "Hyperlink to" Drop down menu, select the desired slide
-
The backwards arrow is useful to put as last slide viewed.
-
For the multiple choice buttons, you can add sound effects by ticking "Play sound" and choosing the sound
-


Cancel: I did not complete this guide.
One other person completed this guide.